


Christmas Before and After: 5 Christmas Effects That Make the Comparison Worth Posting
Key takeaways
- A Christmas before and after works because the change reads in one second. Same subject, same framing, and only the festive layer is different.
- Keep the “before” honest. The contrast is the content, so a plain, unretouched starting photo makes the Christmas effect look stronger.
- Five Christmas effects cover most photos: Santa outfit, snowfall scene, vintage Christmas card, storybook or painted portrait, and a short Christmas video.
- Movcl can build each look from a single photo on iOS and Android.
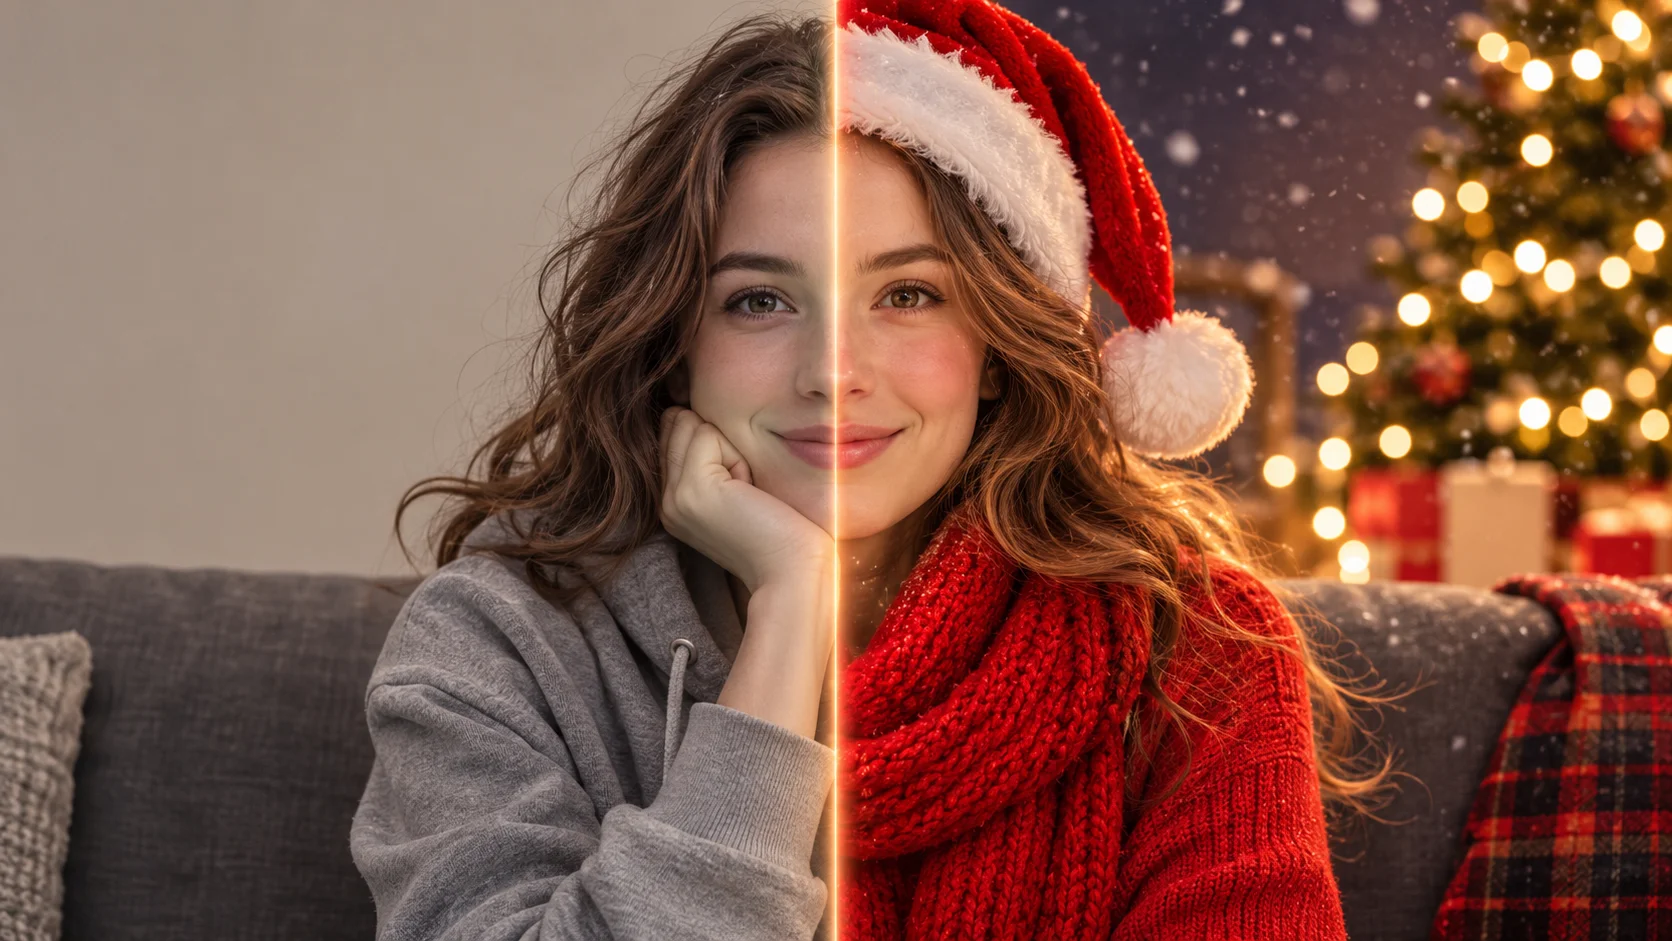
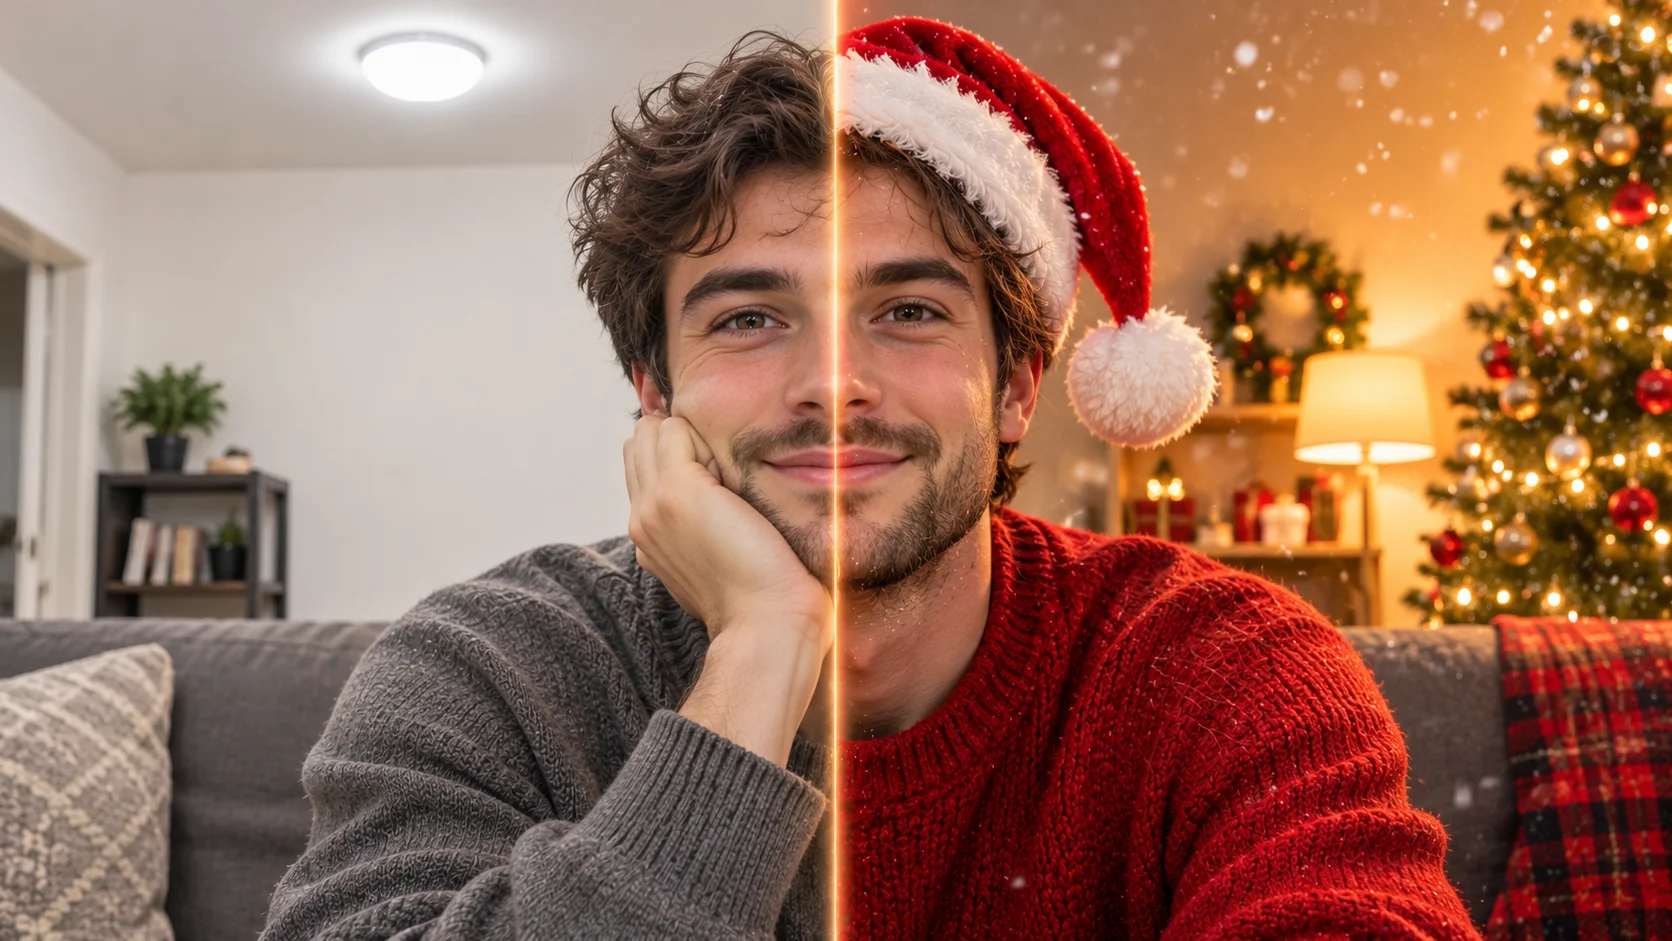
A plain living-room selfie on the left. The same frame on the right, wrapped in snow, warm lights and a Santa hat. That one swipe is among the most dependable formats on holiday feeds, and you can build it from a single photo.
Most seasonal posts ask people to admire a finished picture. A before and after asks them to notice a change, which is easier to react to and easier to share. The “before” supplies the context, the “after” supplies the payoff, and the swipe supplies the pause in between.
An ordinary Tuesday. Overhead light, bare wall, everyday hoodie.
Same pose and crop. Falling snow, golden lights, Santa hat, storybook warmth.
Three rules for a strong “before” photo
- Face the light. A window or lamp in front of you gives the effect clean detail to work with.
- Leave room around the subject. Snow, lights and props need space, so avoid tight crops.
- Keep it unretouched. If the original is already styled, the swipe loses its punch.
5 Christmas effects worth the comparison
1. Santa outfit
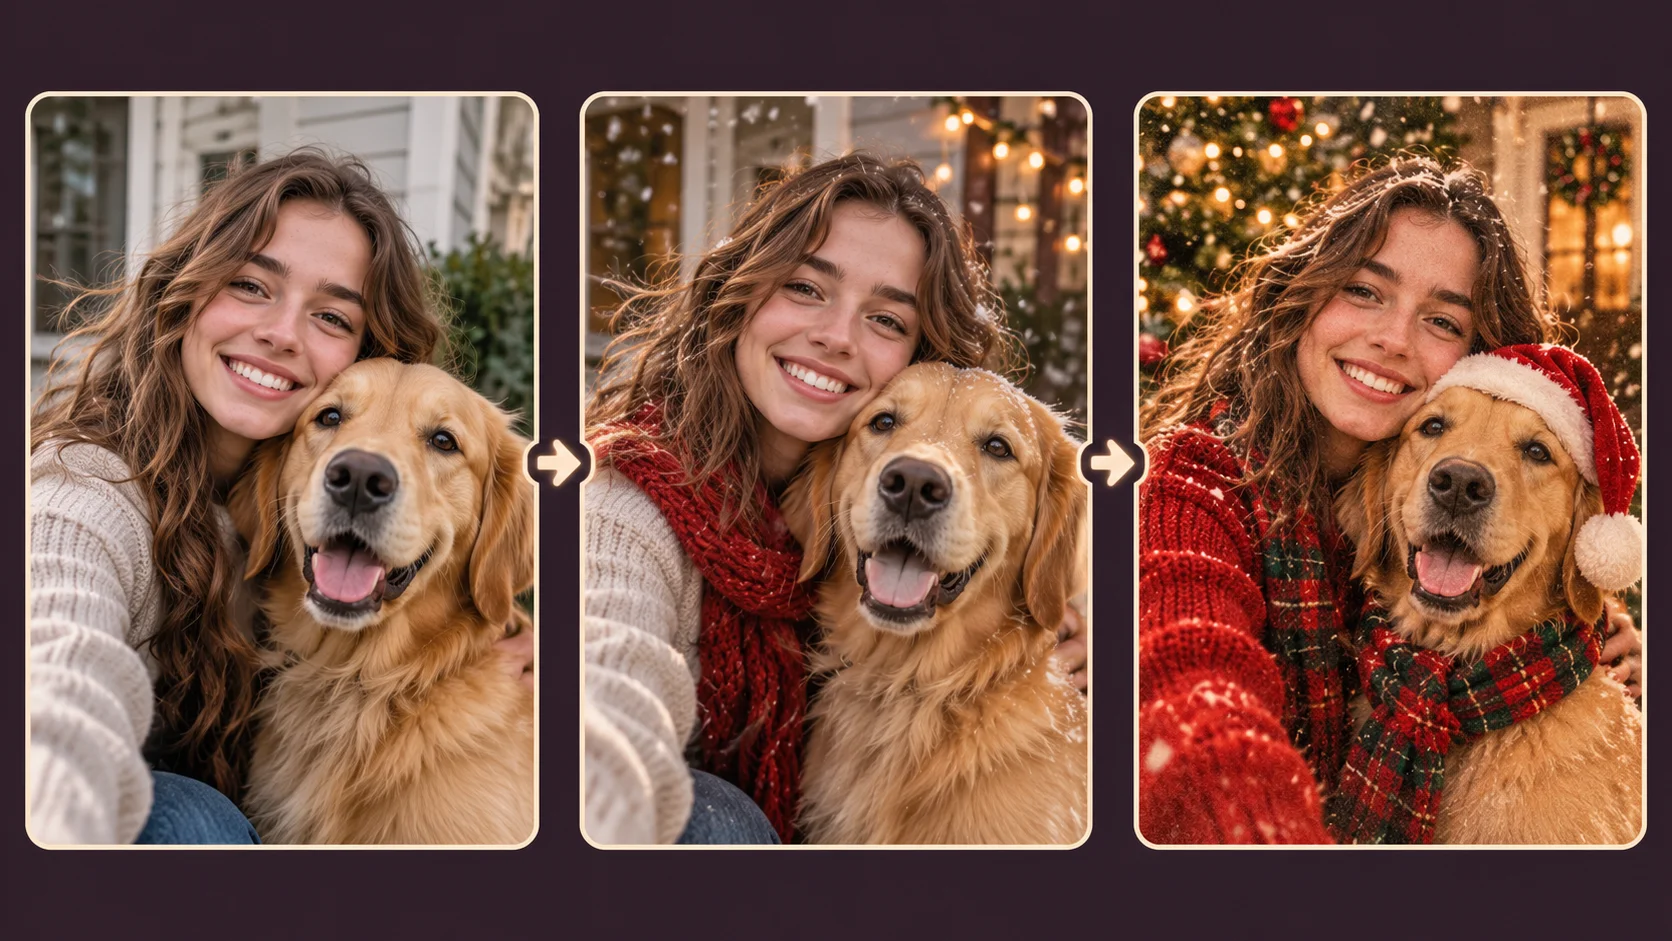
The clothing becomes a Santa hat, scarf or red knit, while your face, pose and background stay as they were. It is the most recognizable Christmas effect because only the outfit changes.
2. Snowfall scene
The background turns wintry, with falling snow, frosted glass and soft bokeh lights, and the subject is left almost untouched. This one gives the biggest visual change with the least risk to likeness.
3. Vintage Christmas card
Color grade, film grain and a retro greeting-card border give the photo a mid-century holiday feel. The composition stays the same, so the pair reads cleanly side by side.
4. Storybook or painted portrait
The whole image becomes illustrated: oil paint, picture book or clay. It is the boldest change, so it works best when a stylized look feels natural.
5. Christmas video reveal
The still photo starts to move: snow drifts, lights twinkle, and the subject comes alive. Your original photo is frame one, which makes the reveal feel earned.
The change meter
Pick an effect by how bold you want the swipe to feel. More drama usually means a little less literal likeness.
| Effect | Drama | Likeness | Best format |
|---|---|---|---|
| Santa outfit | ●●●○○ | ●●●●● | Swipe post |
| Snowfall scene | ●●●●○ | ●●●●● | Swipe post |
| Vintage card | ●●●○○ | ●●●●○ | Carousel |
| Storybook portrait | ●●●●● | ●●●○○ | Carousel |
| Video reveal | ●●●●○ | ●●●●○ | Reel or TikTok |
How to make it in four steps
- Pick one clear photo. Front-lit, face visible, with room around the subject.
- Save the original. It becomes your “before” frame, so don’t overwrite it.
- Apply one Christmas effect in Movcl. Open the photo in the app and choose an image style or a video effect. Start with a single effect so the comparison stays clean.
- Match the frames. Crop both to the same ratio, 4:5 for feed posts or 9:16 for Reels and TikTok, and post the original first.
Captions you can copy
Pick the one that matches your photo, then tweak the wording to sound like you.
Common mistakes
- Different crops. Mismatched framing makes the pair look staged.
- Too many effects at once. One effect per “after” keeps the change obvious.
- Dark, busy source photos. The effect has little to hold on to, and the result looks muddy.
Frequently asked questions
- What is a Christmas before and after?
- A two-part post that shows an ordinary photo next to the same photo with a Christmas effect applied, such as snowfall, warm lights, a Santa outfit or a painted holiday style.
- Which Christmas effect keeps my face most recognizable?
- Effects that change the outfit or the background, such as a Santa outfit or a snowfall scene, leave the face untouched, so they stay closest to the original. Storybook and painted looks are the most stylized.
- How do I make my before and after look believable?
- Use the same crop, angle and aspect ratio for both frames, keep the original photo unretouched, and apply only one Christmas effect to the after image.
- Can I turn a Christmas before and after into a video?
- Yes. Hold the original photo for about two seconds, then cut to the Christmas version, or animate the photo itself with a video effect.
Ready to try your own Christmas before and after?
Turn one photo into a Christmas image or a short AI video, right from your phone.
Try Movcl